Let's Keep it Simple: Fall Decor Organization
Storing your fall decor can be simple. Organized storage space is as important as organized daily living space!
Storing your fall decor can be simple. I store items in bins categorized by the areas where I keep them.
My tablescape items are all stored in one well labeled bin. Each year I edit my decor as I decorate each space. I love adding fresh greenery and flowers too!
Organized storage space is as important as organized daily living space. It keeps you from having to dig through tons of bins looking for that “thing.” Who has time for that?
Here’s some of our fall decor this season!
LOVE THIS BLOG?
Sign up to get an email with our latest posts!
7 Essential Tools For Interior Designers
As an interior designer, I frequently make “house calls” to meet with clients to assess their spaces, offer suggestions, and talk to them about how we can transform their space for the better. One of the questions I received from an up-and-coming designer was related to the tools I use to stay on top of my projects while I’m on the go. So today, I’m sharing with you “what’s in my bag!”
Featured in GoodHousekeeping, inRegister Magazine, 225 Magazine, and many more, we are beyond excited to welcome our guest blogger for this week, Arianne Bellizaire! She is a well established Interior Designer in the Baton Rouge area and today she is sharing with us “what’s in my bag!”
Hi friends!
As you may know, I pop into Instagram once a week on Tuesday afternoons to do a Q&A session.
During those sessions, I invite people to post any questions they may have about decorating, design, entrepreneurship, and marketing.
Most times, the questions are simple and easy enough to answer during those LIVE sessions, but every now and then someone will send me a question that I feel like I need more than just a few seconds to answer.
Today’s post was inspired by one of those questions!
As an interior designer, I frequently make “house calls” to meet with clients to assess their spaces, offer suggestions, and talk to them about how we can transform their space for the better.
One of the questions I received from an up-and-coming designer was related to the tools I use to stay on top of my projects while I’m on the go.
I loved this question so much that I decided, “Hey! Let’s make a video about this!”
So today, I’m sharing with you “what’s in my bag!”
These are the tools I use to seamlessly transition from my office to site visits without missing a beat!
① The most critical tool in my bag is my laptop. This is my mobile design studio, so to speak. I can easily pull up floor plans, show clients inspiration photos on Pinterest, and send them a summary of all of the things we discussed during the meeting before I even leave their home.
② The next “essential” is of course my cellphone. And not just to connect with team members and installers, but I also use my phone to provide a hotspot for internet access on construction sites. As an added bonus, my phone is my camera so I use it to take before and after photos and videos to document the progress of my projects. This is by far the most versatile piece in my arsenal!
③ Next up is my retractable tape measure. To be honest, I always have one of these within reach, whether it’s the one in my bag, the one in the glove compartment in my car, or the one in my desk drawer. Being able to capture room dimensions and gauging the scale of things is essential to effective space planning. In my bag, I have a 12ft and a 25ft measure
④ This next tool, the digital tape measure, allows me to measure vertical spaces, room lengths, and hard to reach spaces with ease!
⑤ The next essential is painters tape! I use this to block out furniture and art placement if the client is having a difficult time visualizing how much space a piece of furniture or art display will take up in the room.
⑥ One of the newest but no less critical additions to my toolkit is my Remarkable! This powerful device has replaced my spiral-bound notebook. I use it to jot down notes, stretch ideas, and dictate summary briefs for each meeting. Then I press a button to transform my handwritten notes into text and email a pdf copy to my client, trade, or team member with the press of a button!
⑦ My final tool is my paint color fan deck! Like my retractable tape measure, I’m never far away from one of these, and here’s why. Despite what you might think, this baby can be used for more than picking out paint colors!
I’ve got even MORE tips on how you can get the most out a paint deck coming up in a future video, so be on the lookout for that!
For now, I want to know from you, are you surprised by any of the tools I keep in my bag? Which one was most unexpected and what did you THINK you would see in my bag that you didn’t?
Let me know in the comments!
To view the original post and see more from Arianne Bellizaire
LOVE THIS BLOG?
Sign up to get an email with our latest posts!
5 Quick Tips to Ease the Pain of Holiday Clean Up
Hoping your holiday was fantastic. Unfortunately, it’s clean up time! Here are 5 quick tips to help ease the pain of the clean up process.
Happy New Year my organizing friends! Hoping your holiday was fantastic. Unfortunately, it’s clean up time! Here are 5 quick tips to help ease the pain of the clean up process.
5 quick tips to help organize your holiday clean up.
Use clear bins if you can. Being able to see what’s in the bin is very helpful when taking items out next year.
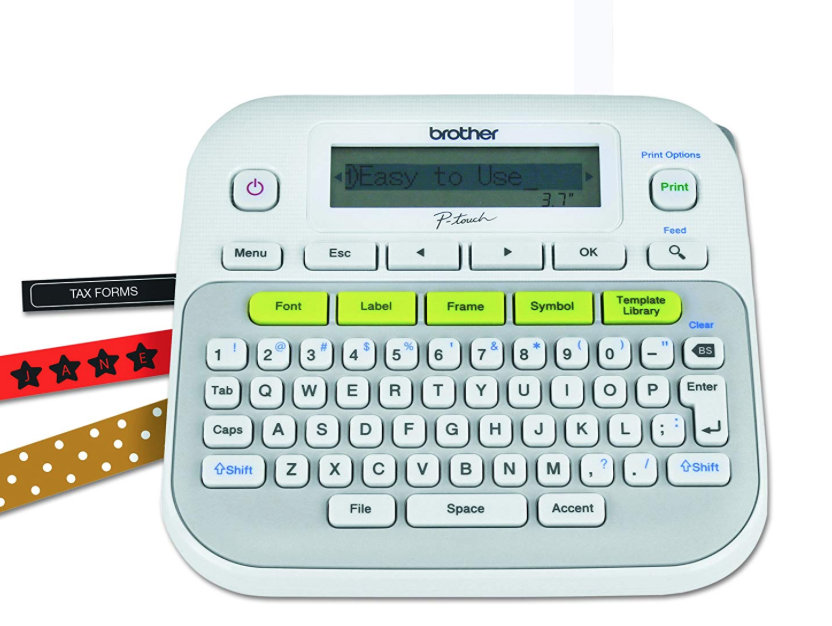
2. Label, label, label! Label each bin with every item inside the bin. This seems tedious but you will be thankful next year. You can use a label maker or use the original label tape….masking tape and a sharpie! If you zone decorate like I do, don’t forget to add the zone label.
3. Using an extension cord reel or any type of cord organizer will help keep your lights from being a tangled mess. Label the lights so you know right where they go next year.
4. Label wreaths and garland with the location where they will be used. I use garland in 3 different spots and each garland is a different length. Knowing where the garland belongs saves us time and frustration.
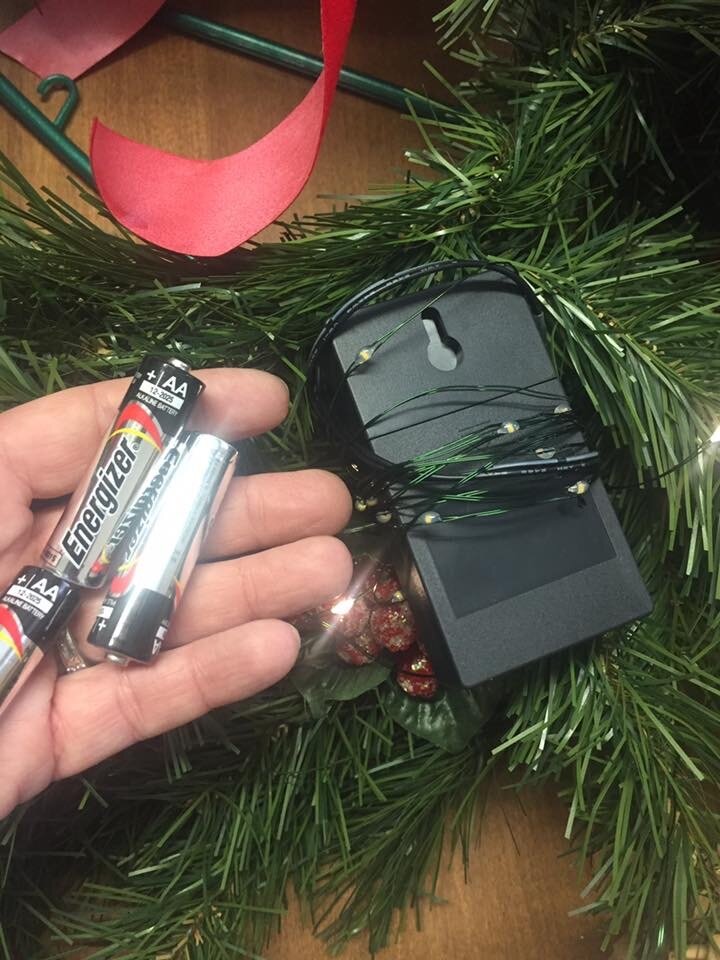
5. Make sure to take the batteries out of anything being stored.
Once again, have a Happy New Year and happy organizing!
Love this blog?
Sign up to get an email with our latest posts!
The Guests Are Coming! The Guests Are Coming!
We are Southern and for us that means it’s that time of year, y’all! Time for turkey, hunting, football, cranberry sauce and Southern hospitality! While it’s sometimes fun to have family and friends in town, it can be stressful unless you plan it right! Let us give you 7 great organizing tips to make your guests feel as pampered as a Southern Belle and you feel relaxed about them being there!
We are Southern and for us that means it’s that time of year, y’all! Time for turkey, hunting, football, cranberry sauce and Southern hospitality! While it’s sometimes fun to have family and friends in town, it can be stressful unless you plan it right! Let us give you 7 great organizing tips to make your guests feel as pampered as a Southern Belle and you feel relaxed about them being there!
1. Clean, Comfortable Bedding
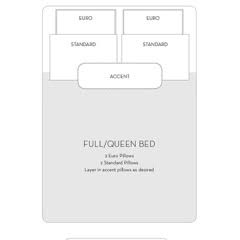
You will need clean and comfortable bedding for the guest bedroom. Clean being the more important of the two! Make sure all bedding is washed and the bed is made neatly. Yes, they might mind the Catahoula hound hair on the pillow! Make sure to have enough pillows and an extra blanket if needed. Here is a link to “How to Make a Bed,” in case you need some help
2. Clutter Free Space
Of course they want to see the 72 photos of you and your kids at the Saints game displayed on the nightstand, but they’d also like a space to rest their own personal items. They will need space for their luggage, phones, iPads, laptops, and other personal items. Make sure the bedside table is clear enough for them to have that space. Maybe just 1 photo of Drew Brees hanging on the wall will suffice? Having a little hanging space in the closet is considerate too. Move the debutante dresses to the other closet!
3. A Touch of Home
Help entertain your guests that have different sleeping habits than your family by providing soft lighting, water, snacks and entertainment. Lamps, books, Southern Living, Garden and Gun magazines, local brochures for nearby attractions as well as a Wi-Fi password provided for late night or early morning reading are a just few nice touches. Water and snacks like pralines, Satsuma’s or Zapp’s chips help a guest feel cozy and may make them forget that it’s 90% humidity outside on Thanksgiving Day. Did I mention they might need hair ties?
4. Guest Towels
In my house, I like to designate certain towels as guest towels so that my children don’t use them to wash the dog or clean up the mud on the floor. (Oh, who am I kidding. They wouldn’t do either of those things!) My guest towels don’t look like the others. They are actually white, for one. (Not dingy white and well loved) I place a clean bath towel, face towel and washcloth on the guest’s bed so they don’t have to go searching for what they can use. I have put these in baskets, tied them with a ribbon or just stacked them nicely. Any of those options makes the guest feel welcome.
5. The Often Forgotten Essentials
A nice basket or container of travel size toiletries is helpful if your guest forgot an important item such as a toothbrush or razor. This basket can include but is not limited to shampoo, body wash, conditioner, toothbrush, razor, mouthwash, toothpaste, dental floss, comb, hair ties or bug spray (Mosquito’s are like hawks, y’all). If your guests have small children, include toiletries geared for children as well.
6. A Clean Bathroom
Make sure that the bathroom is clean. This is especially important if your guests share the bathroom with my children. Uhm, I mean children. Any children.
7. Considerations of Accommodations
Extra special welcoming touches are felt in the small details. These might include simply a small vase of flowers or their very own trial size Tabasco sauce. It may also mean being aware of their food likes and dislikes, allergies and special needs. (Not everyone can tolerate our seafood.) Do they need space for a C-Pap machine, or a place to make bottles or drink milk-bourbon in the middle of the night? What are their favorite beverages or snacks?
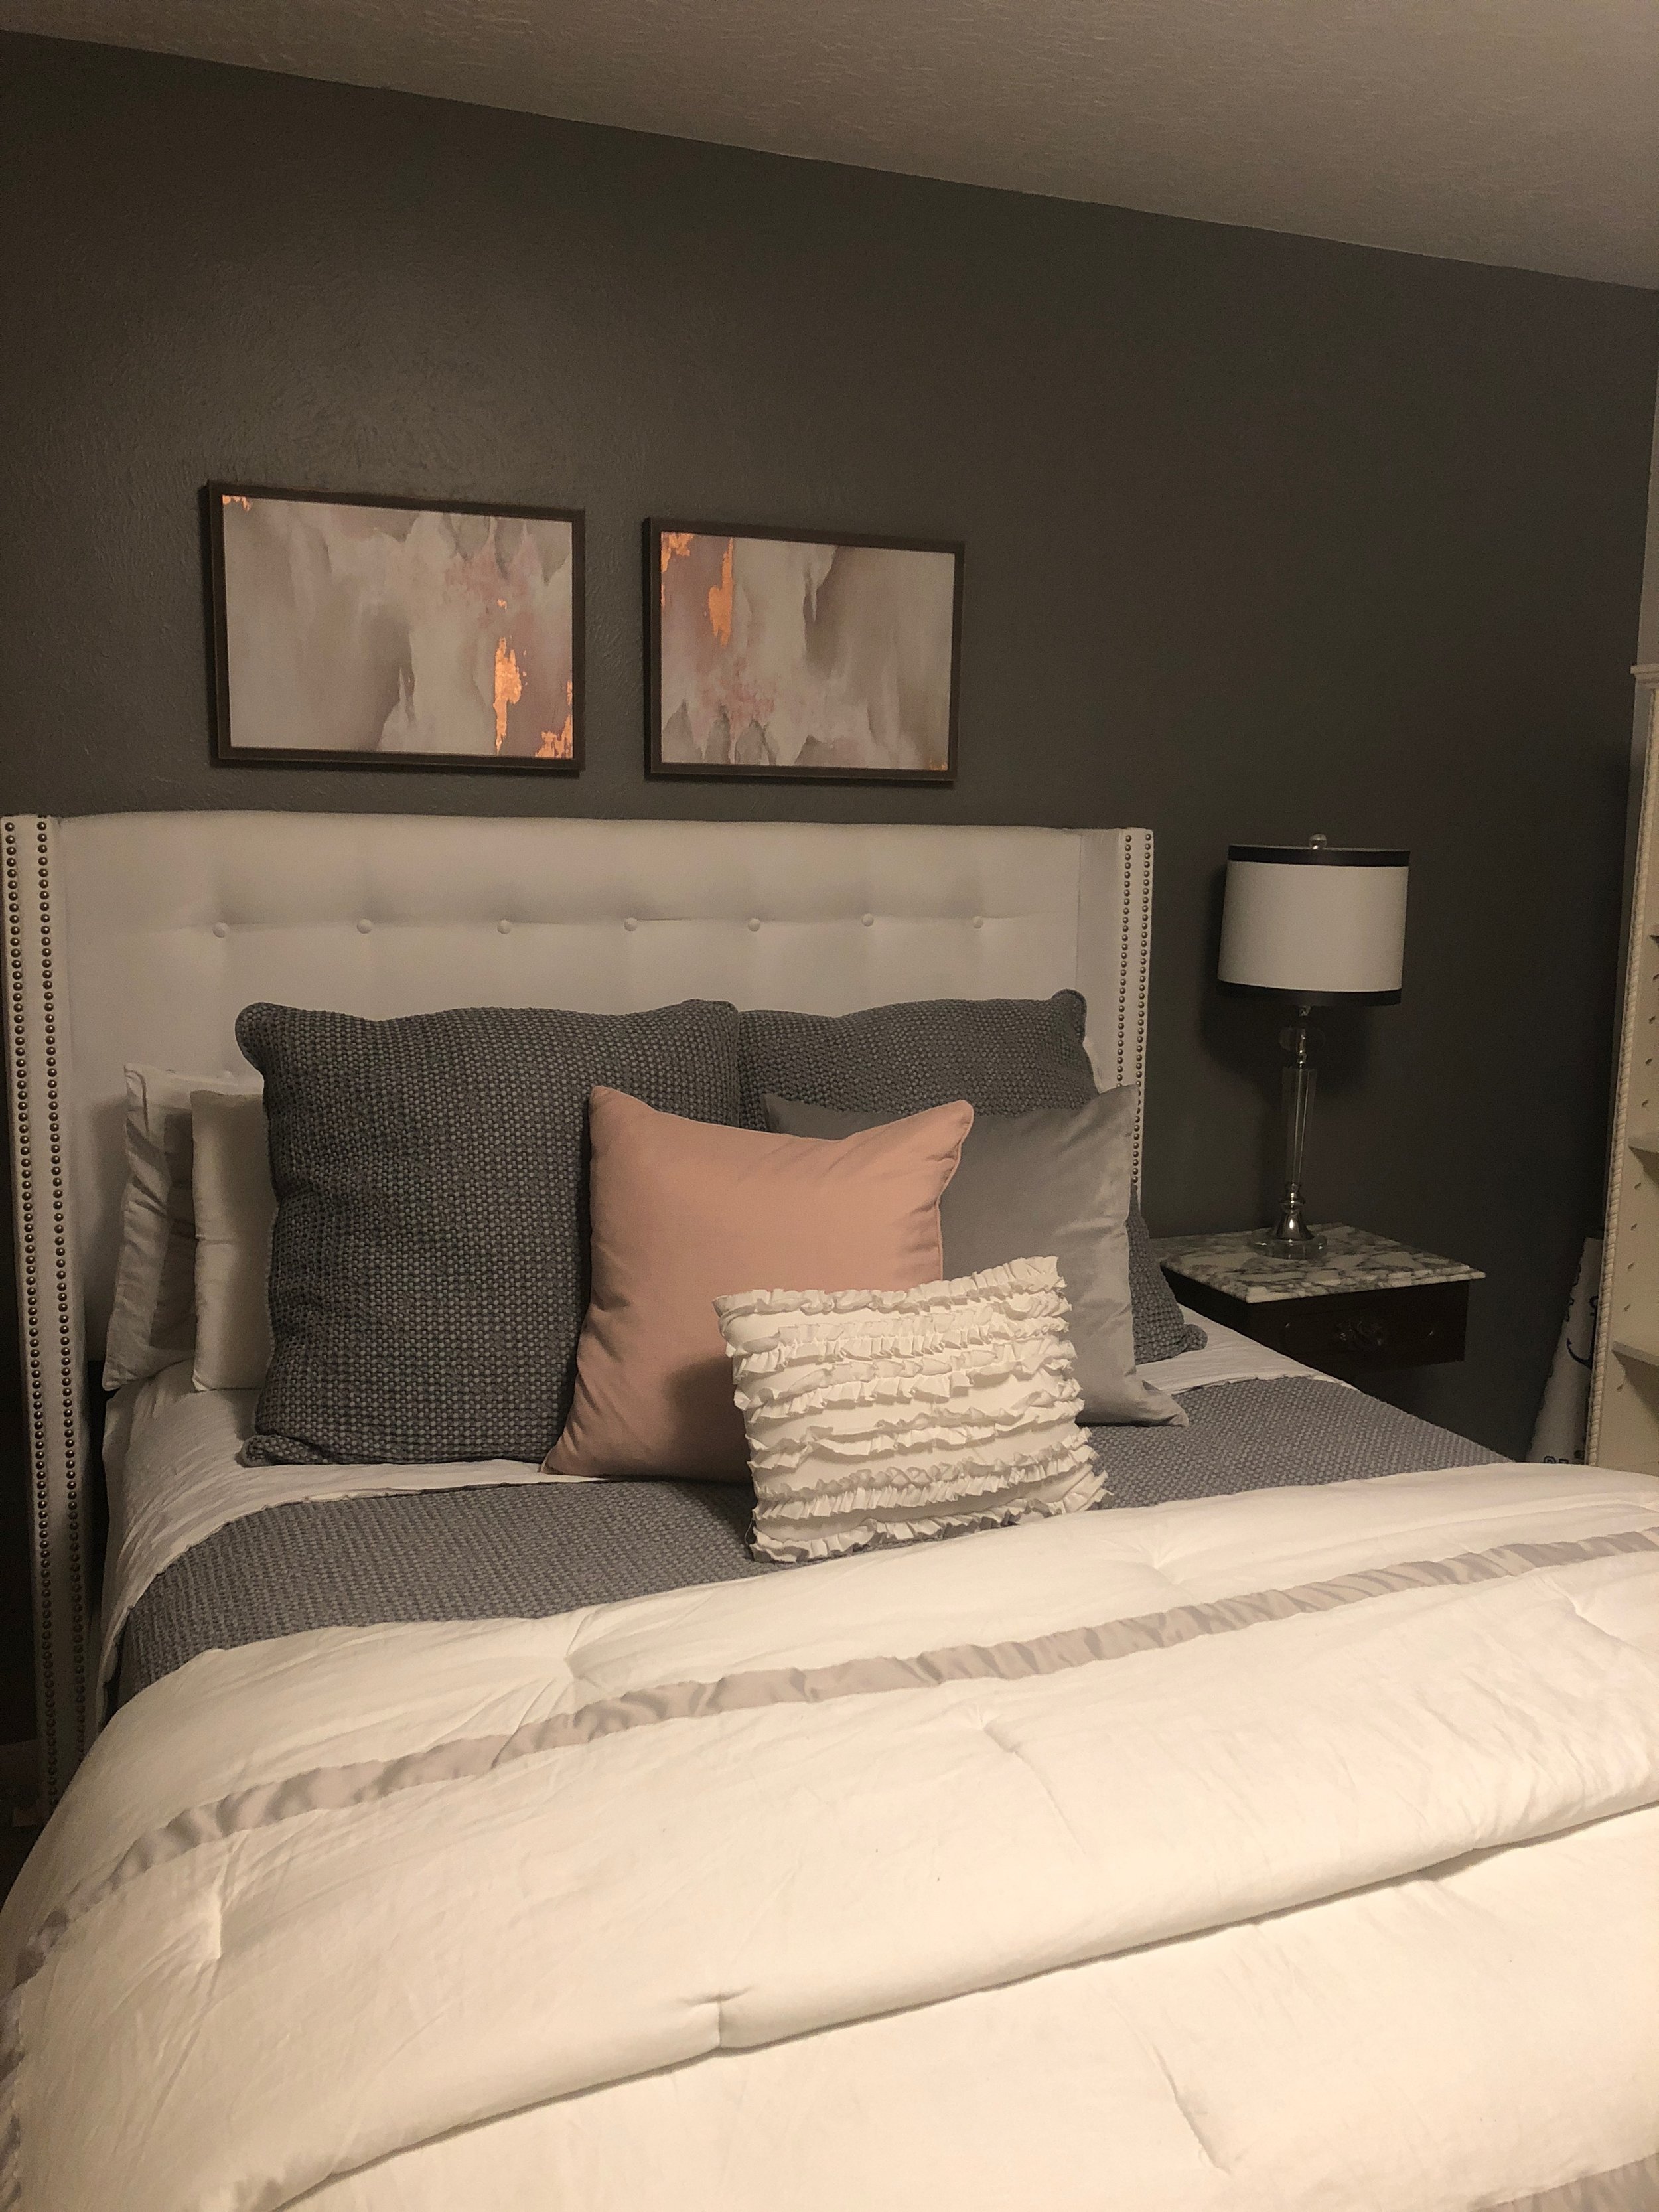
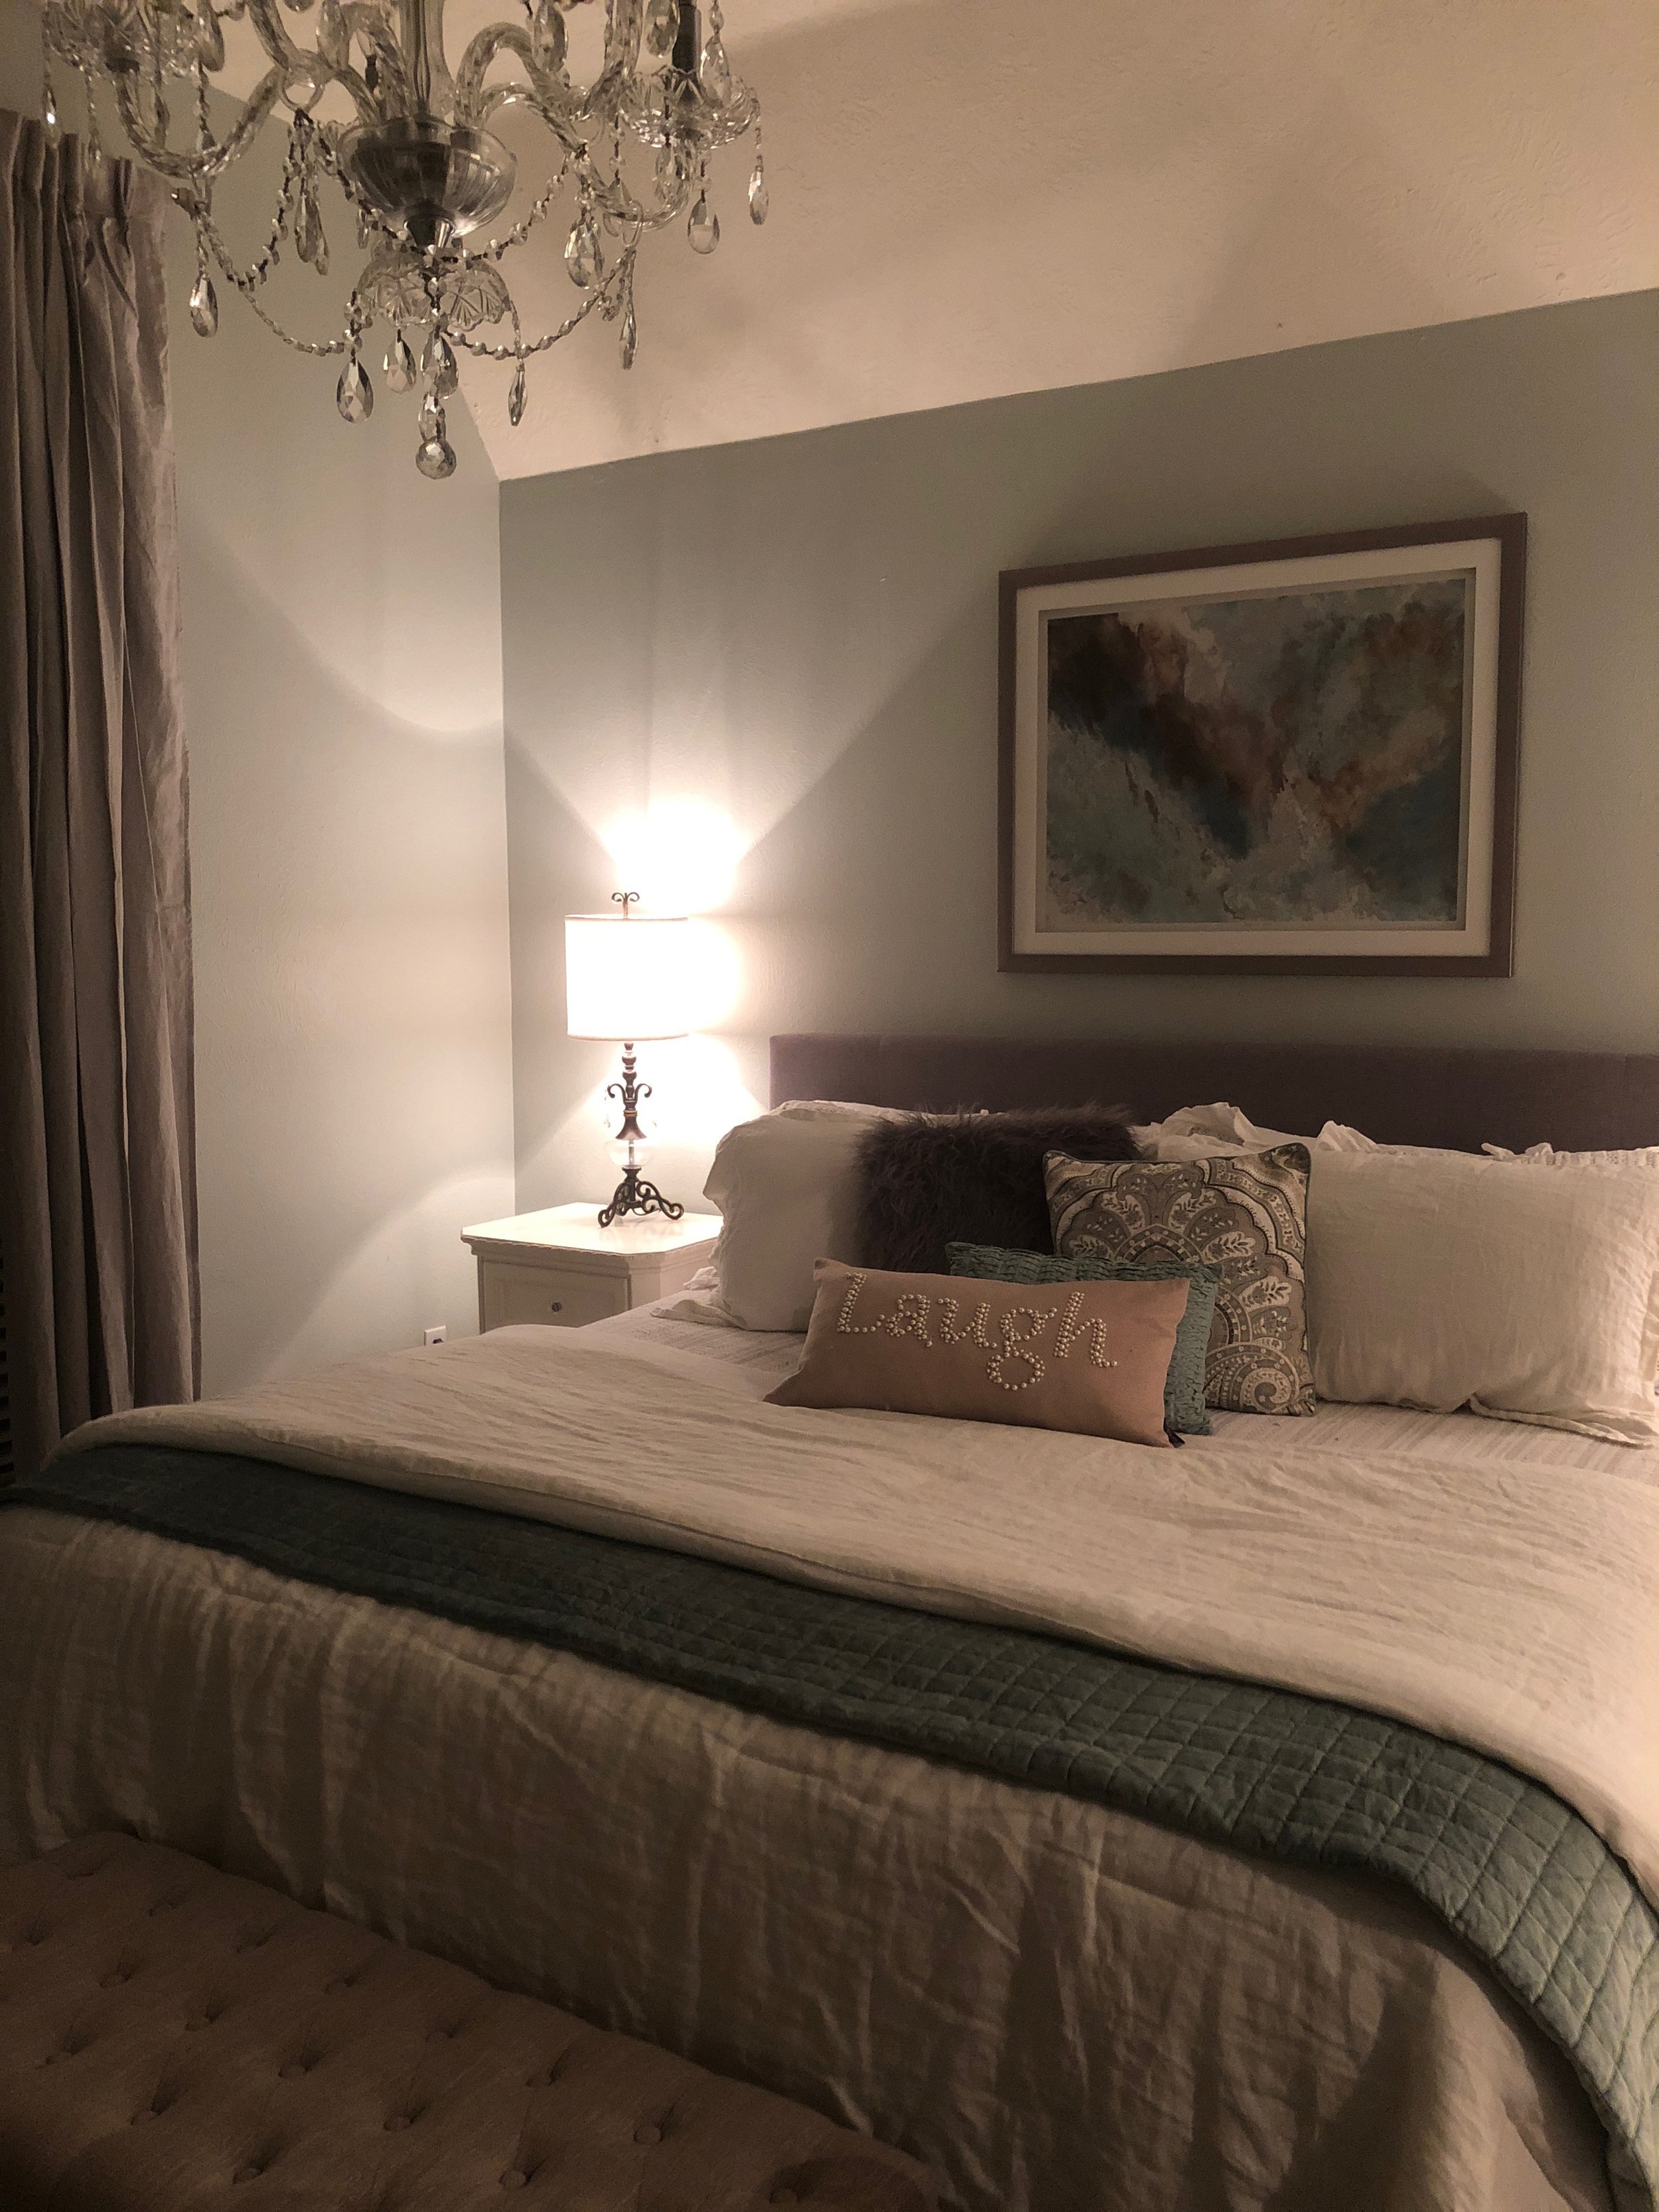
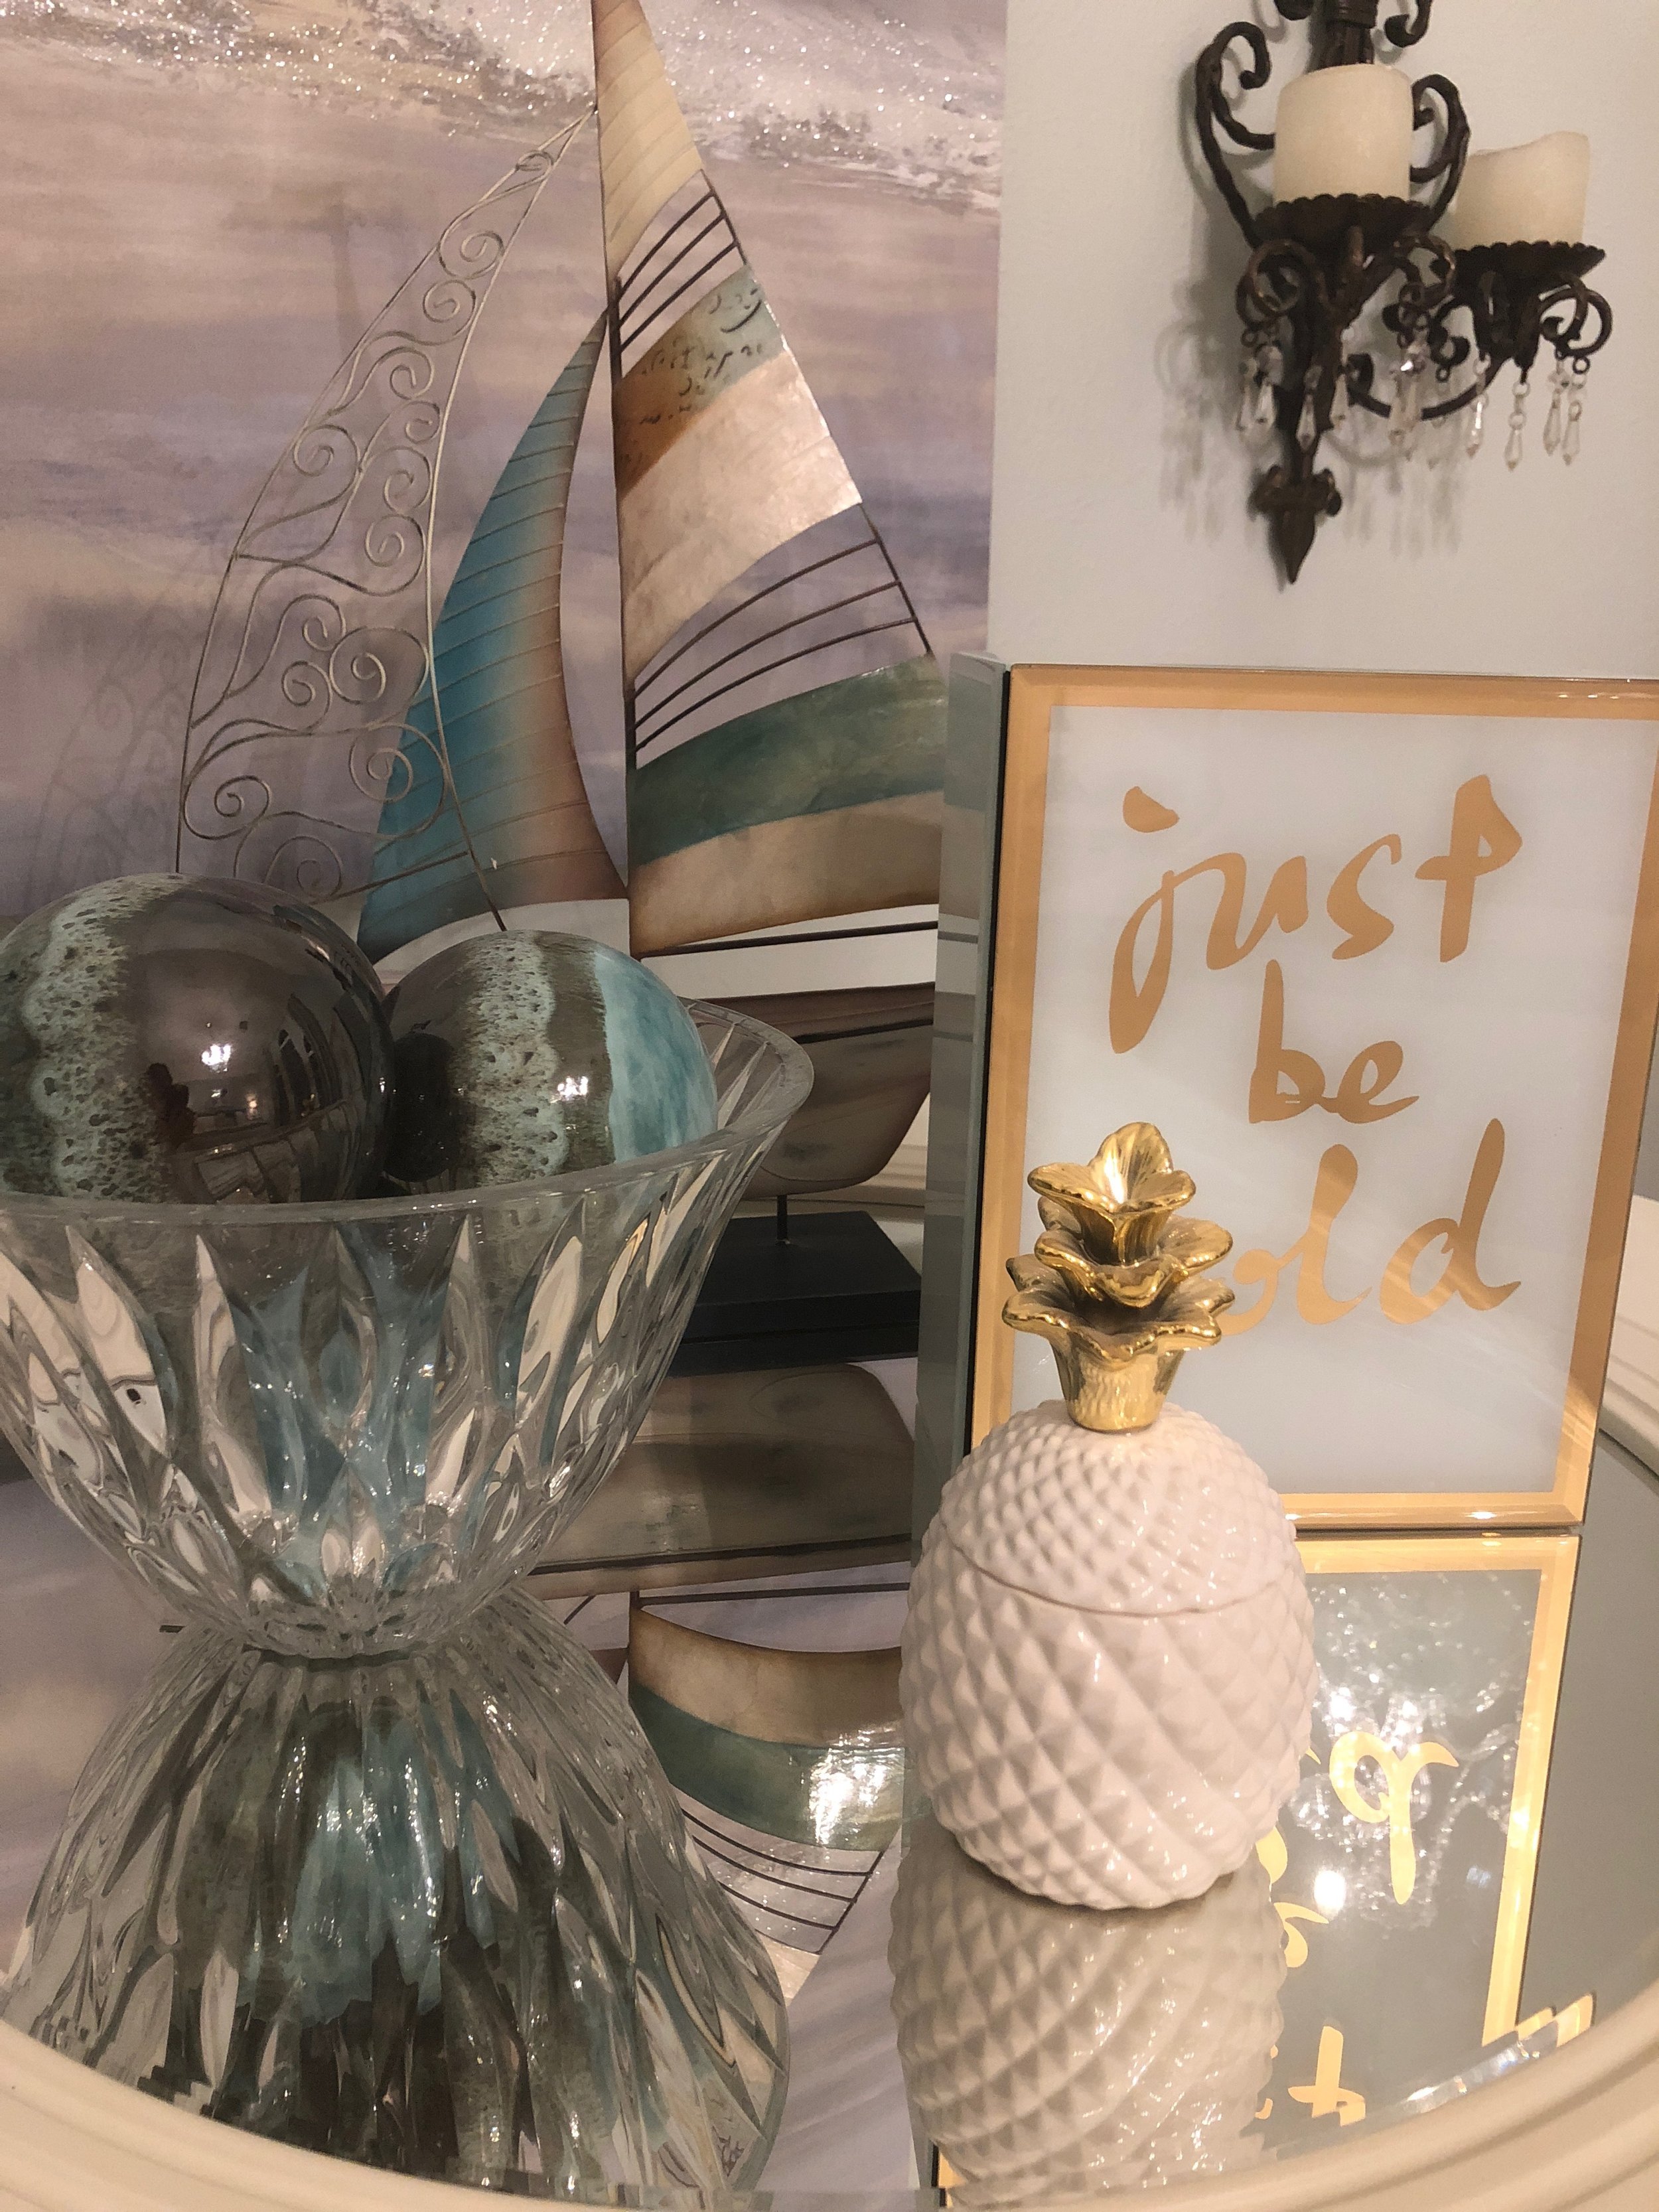
All of these tips can help your guests feel relaxed and pass a good time while staying in your home. They let your guests feel that they are as wanted and welcome as Coach O after an LSU win! But be careful, if you are too kind, they might not leave. And as my mother-in-law likes to say, company and fish stink after about 3 days!
If you want to learn more about the 6 things that make up Southern hospitality, here’s a link!
Most importantly, y’all have a good time, cher! Laisses Bon Temps Rouler!
Love this blog?
Sign up to get an email with our latest posts!
Decorating Your Home This Fall Without Falling into Chaos
If you’re as busy as I am, decorating for all those holidays can become overwhelming, so over the years I’ve developed practices that make these daunting tasks very doable. I hope my lessons learned are helpful to you as we approach one of the busiest times of year!
I absolutely LOVE the later half of the year! It’s like one fun event after another. We go from high school, college and NFL football, to Halloween, Thanksgiving, and College Bowl games, Hanukkah, Christmas, Kwanza and then New Years Eve! It almost feels like there is something to celebrate on a weekly basis in the fall. And being who I am, I embrace the opportunity to turn every one of those occasions into a decorating event.
But if you’re as busy as I am, decorating for all those holidays can become overwhelming, so over the years I’ve developed practices that make these daunting tasks very doable. I hope my lessons learned are helpful to you as we approach one of the busiest times of year!
The Chaos Coordinator of Halloween!
Divide…
If you’re an avid decorator like me, you have multiple areas to “dress up” for the season.
My first piece of advice is to divide.
Around mid-September to the beginning of October I start setting out my fall decorations. I find it best to divide my home into vignettes then tackle those areas piece by piece. I place everything I need for each area in bins labeled for those respective areas. That way I can easily decorate each area with just a few minutes.
And Conquer.
After all of my items are divided into their respective areas, it’s time to conquer the task a little at a time. For example, when I have a little extra time, I’ll take out my Halloween foyer bin and start decorating that particular vignette.
Pro Tip: Include a picture of the decorated area in each storage bin. This way, you can quickly remove the items not needed for this holiday vignette and get to decorating with exactly the elements you need. Decorating from a picture helps take some of the pressure off, and even makes the task easy (and fun) to pass along! Over the years I’ve been able to hand off the foyer, mantle and other simple areas to my children to decorate. It’s fun getting the whole family involved.
Then, Hit Reverse!
When it’s time to return to “normal,” I reverse the process. Taking down the decorations is just as easy when using this method. I can easily un-decorate a little at a time without turning my house upside down in the process. This makes decorating year after year a fun activity rather than a chore.


